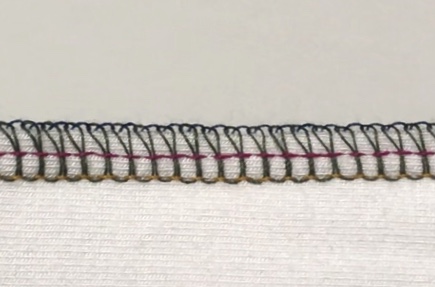
I used to avoid unpicking serger stitches unless it was absolutely necessary. Unfortunately, recently it was necessary, and I did quite a bit of it. In doing so, I learned the secret to removing them successfully.
I knew that it was supposed to be as easy as unpicking needle threads and pulling
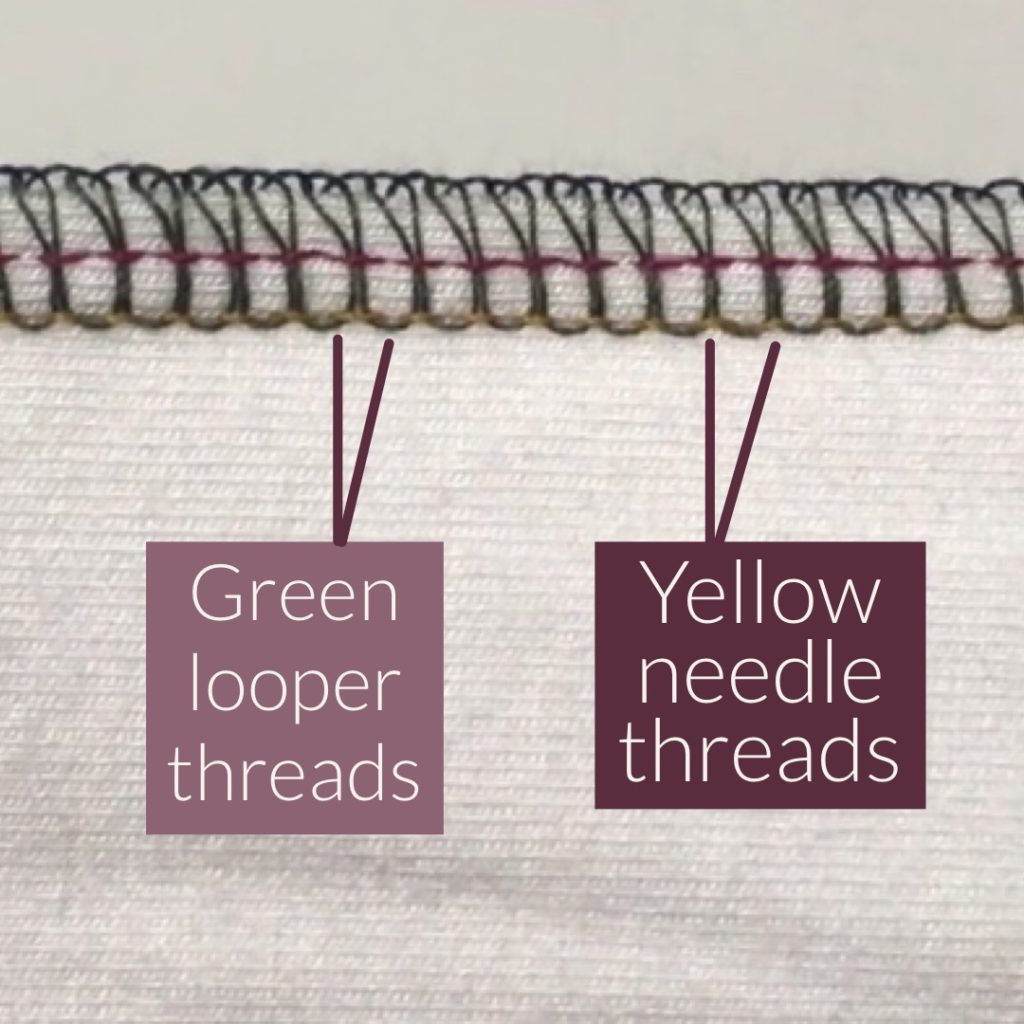
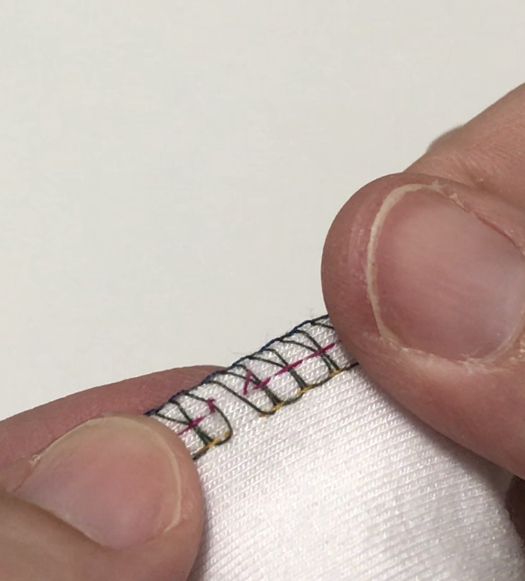
By threading each needle and looper with a different color, I can see why I had such a hard time cutting only the needle threads. The upper looper and left needle threads are so closely overlapped, something so hard to see when all the thread and fabric are the same color. What you can make out, though, even when everything is the same color are the loops made by the looper and the spaces between them. This space is where the needle threads can be easily unpicked.
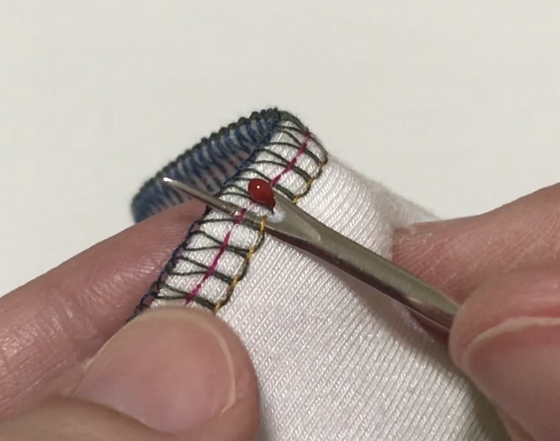
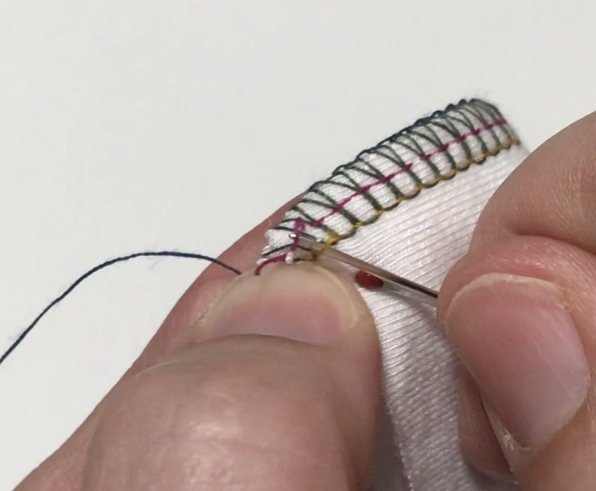
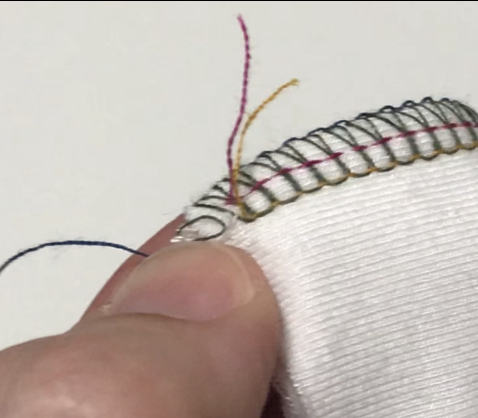
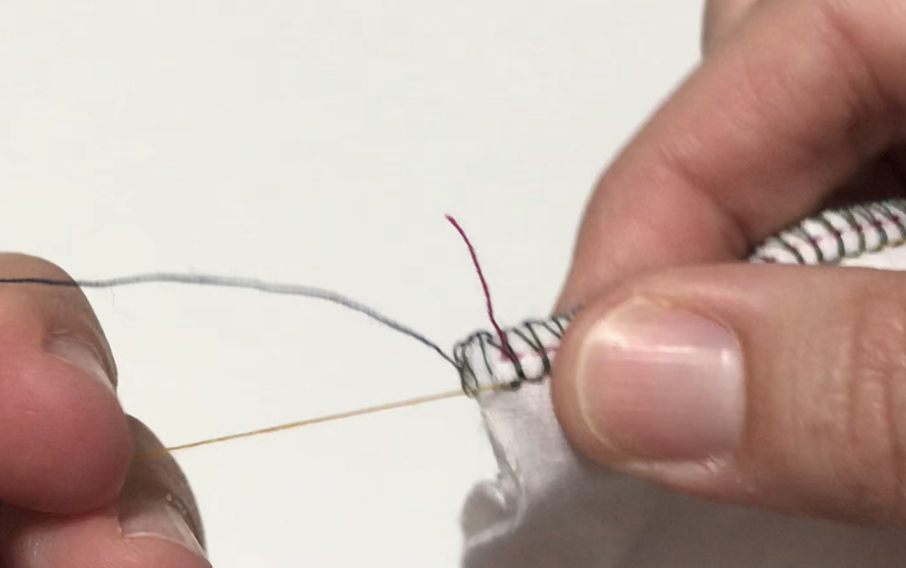
Next, on each end use your seam ripper to gently pull up the needle threads enough to grab on to, then pull them out one at a time.
You’ll be left with just looper threads that will easily pull away. All done!
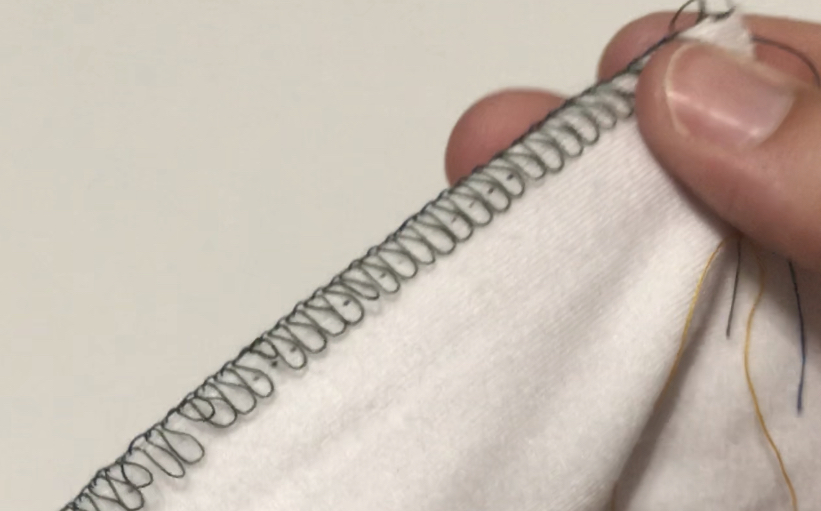
Here’s a video demonstration including a swatch with black thread on black fabric.
Now you can quickly use your seam ripper on those dreaded serged seams. 🙂

Can you tell me what serger did such a perfect stitch?
Hmm, I have 2 sergers and am trying to remember which one I used. I believe it was the Brother 1034d. But it could also have been the Elna Pro 5dc.